Rim Measurement with TriScanTire
Perform quick and precise 2D and 3D rim measurement on all kind of rims (PCR, TBR) with our most versatile machine.
It is perfect for R&D- and Quality departments of rim, tire and automobile manufacturers.
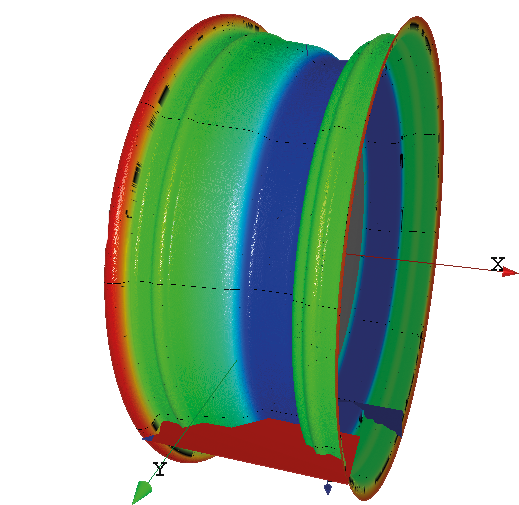
Functionality
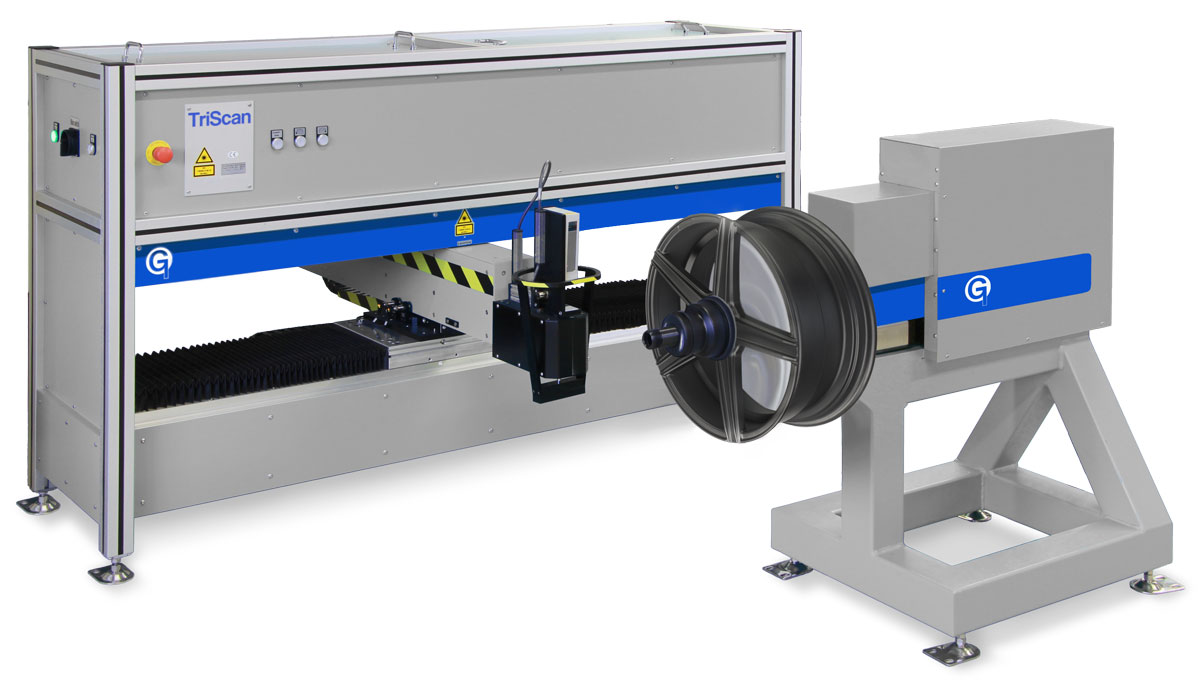
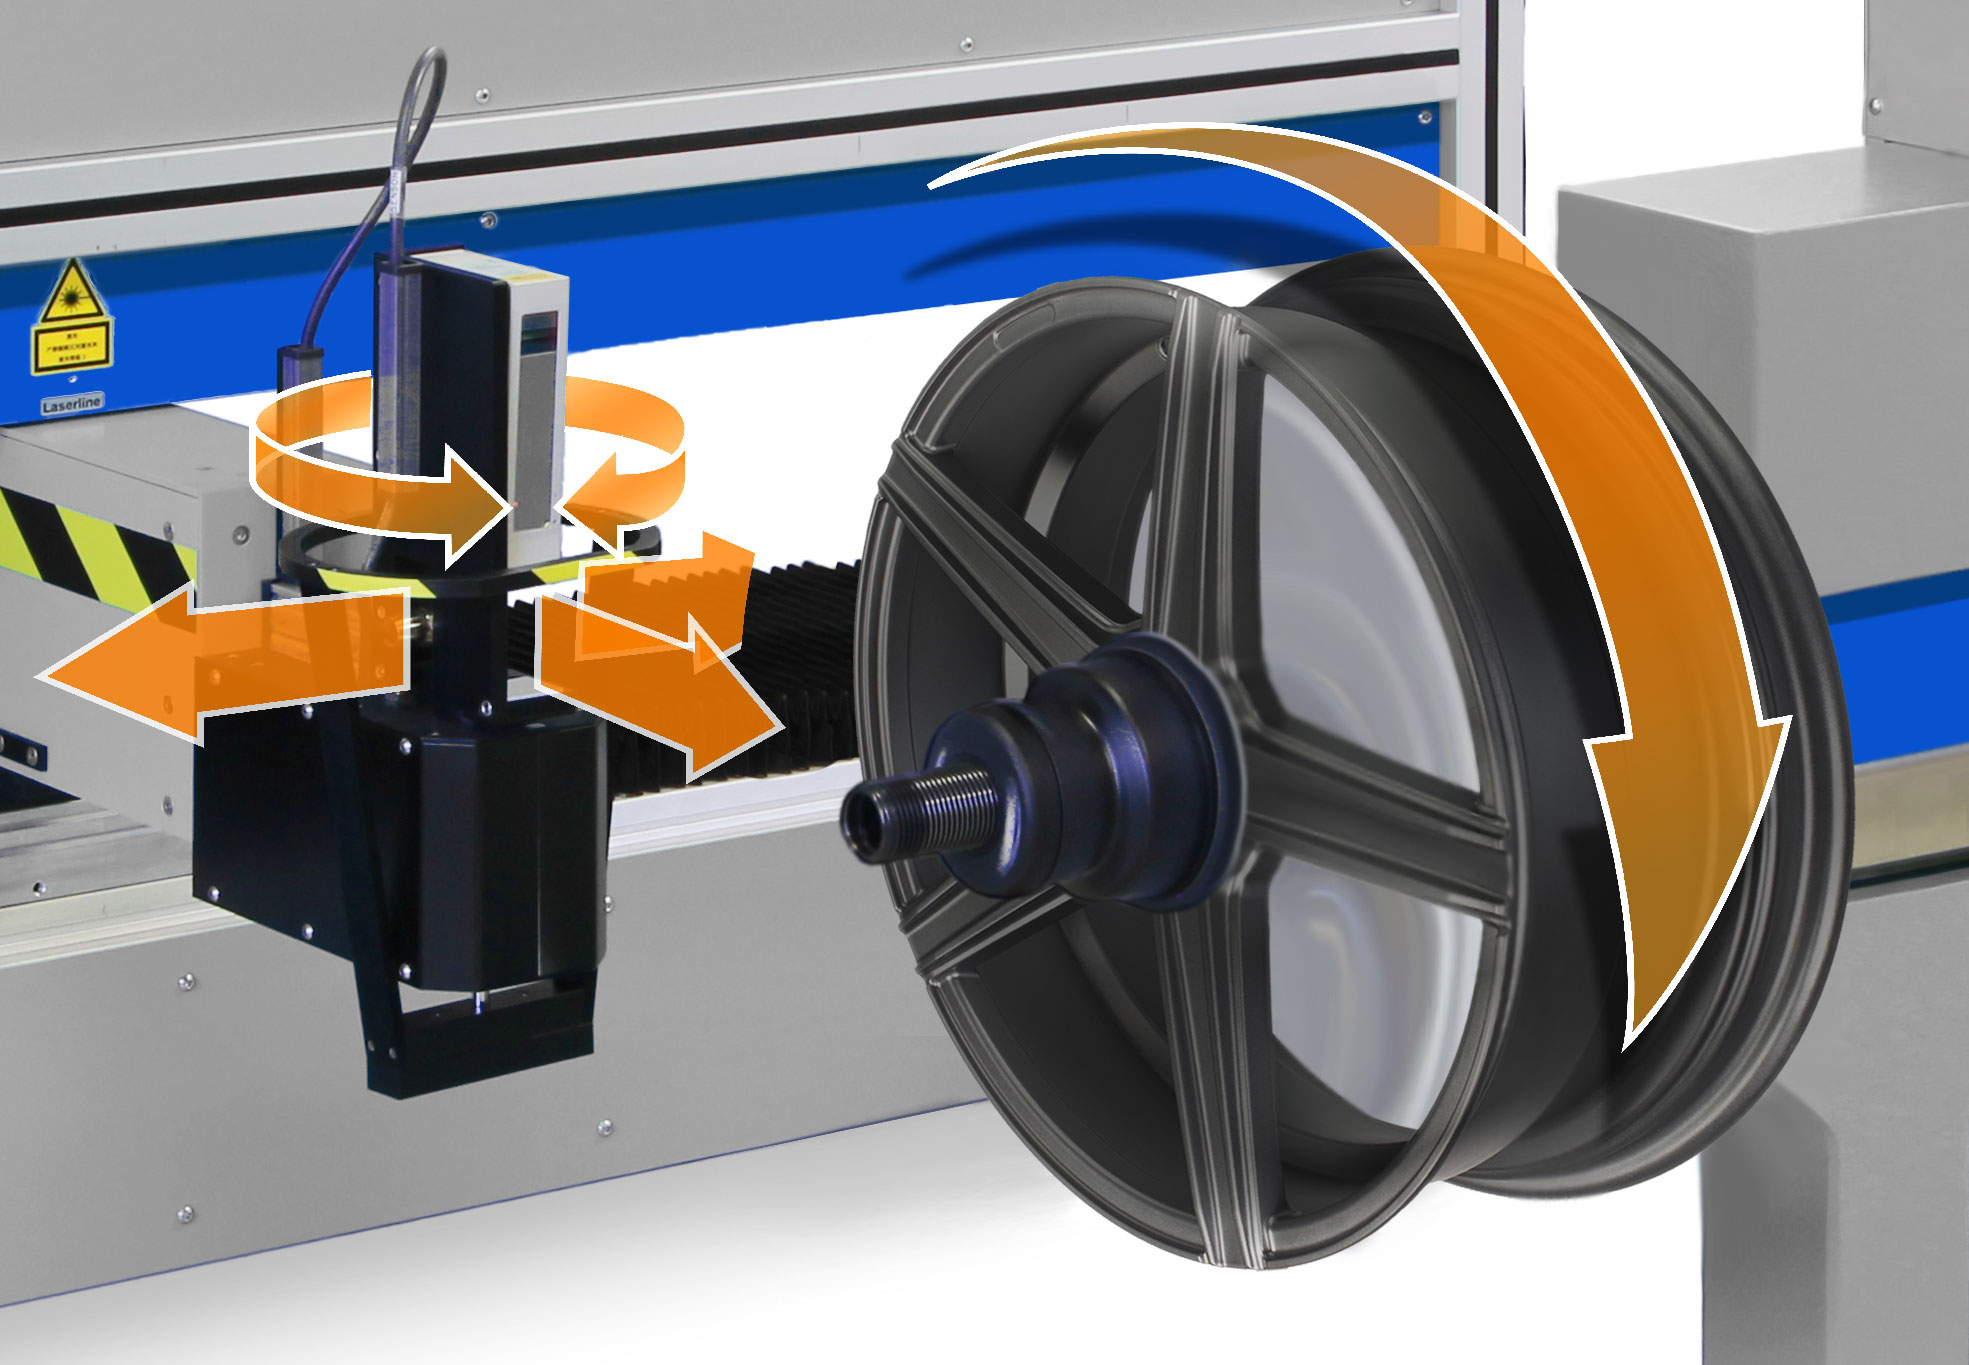
A point laser sensor is moved around the rim by a x- and y-linear axis and additionally rotatable around its own axis so that the rim shape is measured from inward to outward flange to gather a 2D section measurement.
For circumference measurement the sensor is stopped at a certain position while the rim is rotated by the precise balanced tire driver unit. The sensor signal is triggered by the encoder pulses 32768 times, resulting in a high resolution scan along one track.
To achieve the 3D map, the sensor is moved (typically between 0.1mm and 1mm) step by step after each turn and executing the aforementioned circumference measurement for multiple tracks.
Measurement types

• Ball-measuring-tape emulation
• Multiple profile overlay
• 3D visualisation and full rim mapping
• Zoom and dimensioning functions
• Data export functions
• Rim width measurement
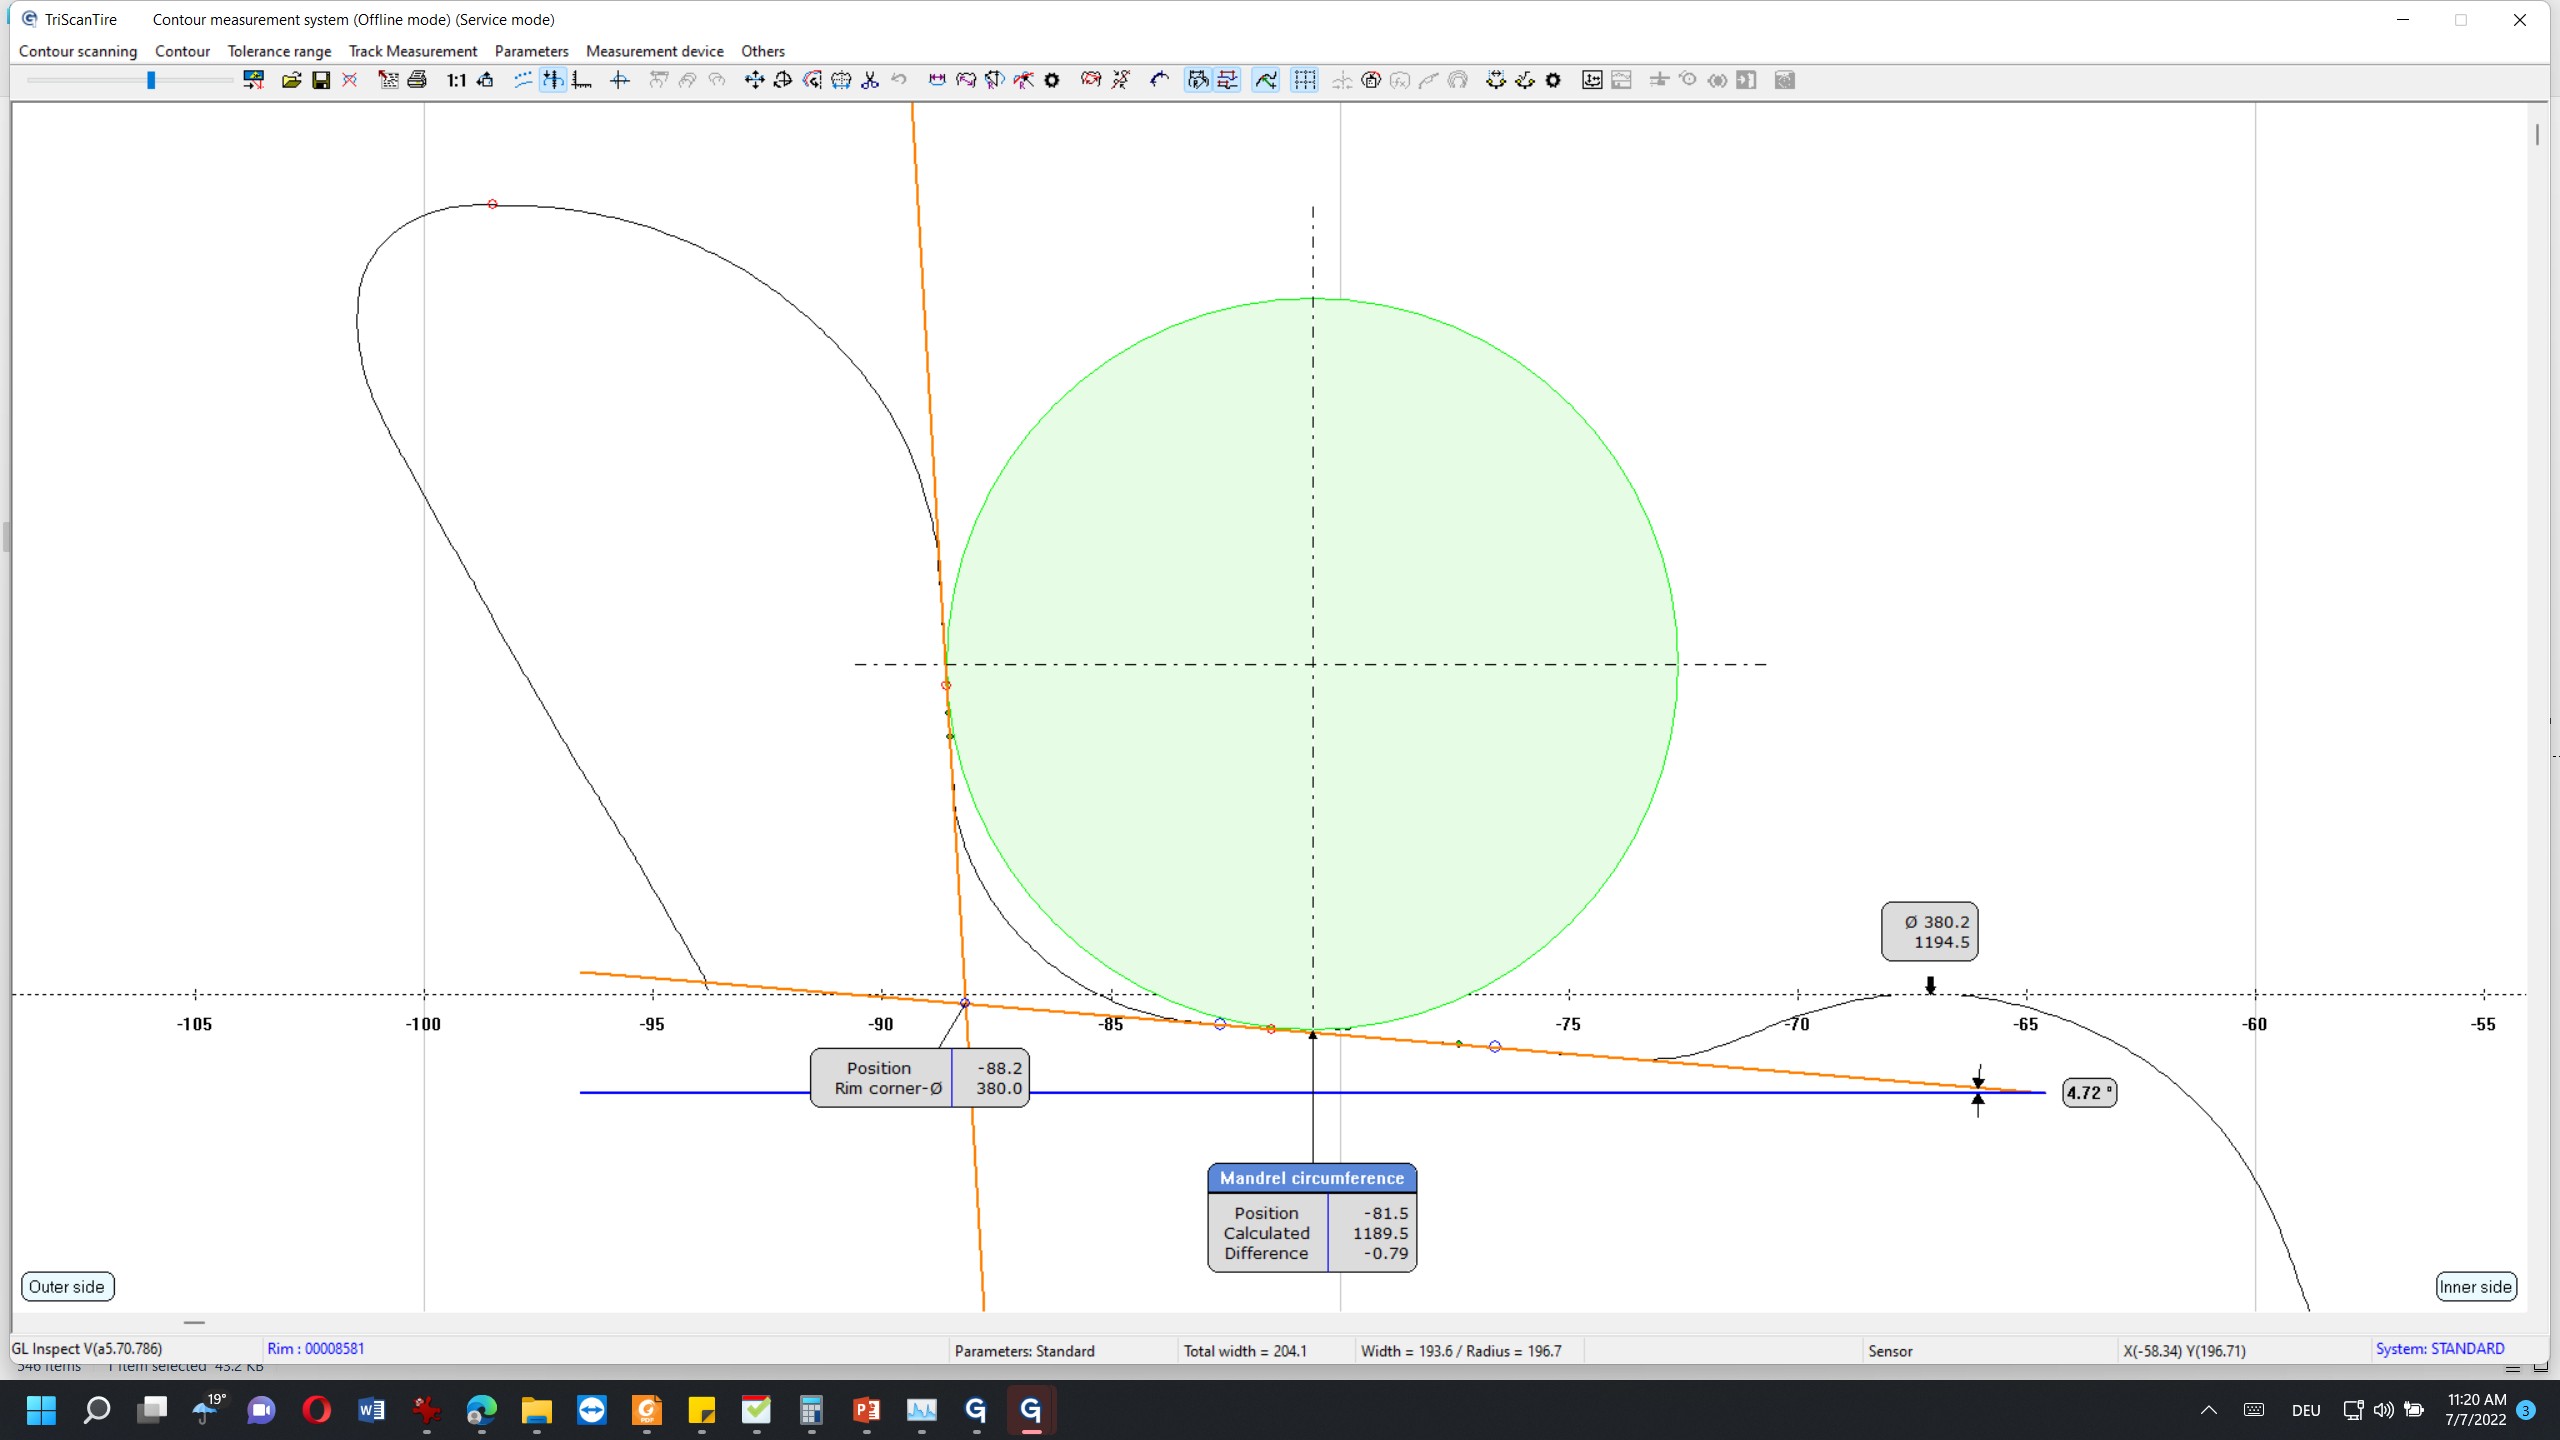
• Mandrel and rim diameter calculation
• Hump measurement (position and circumference)
• Taper angle measurement
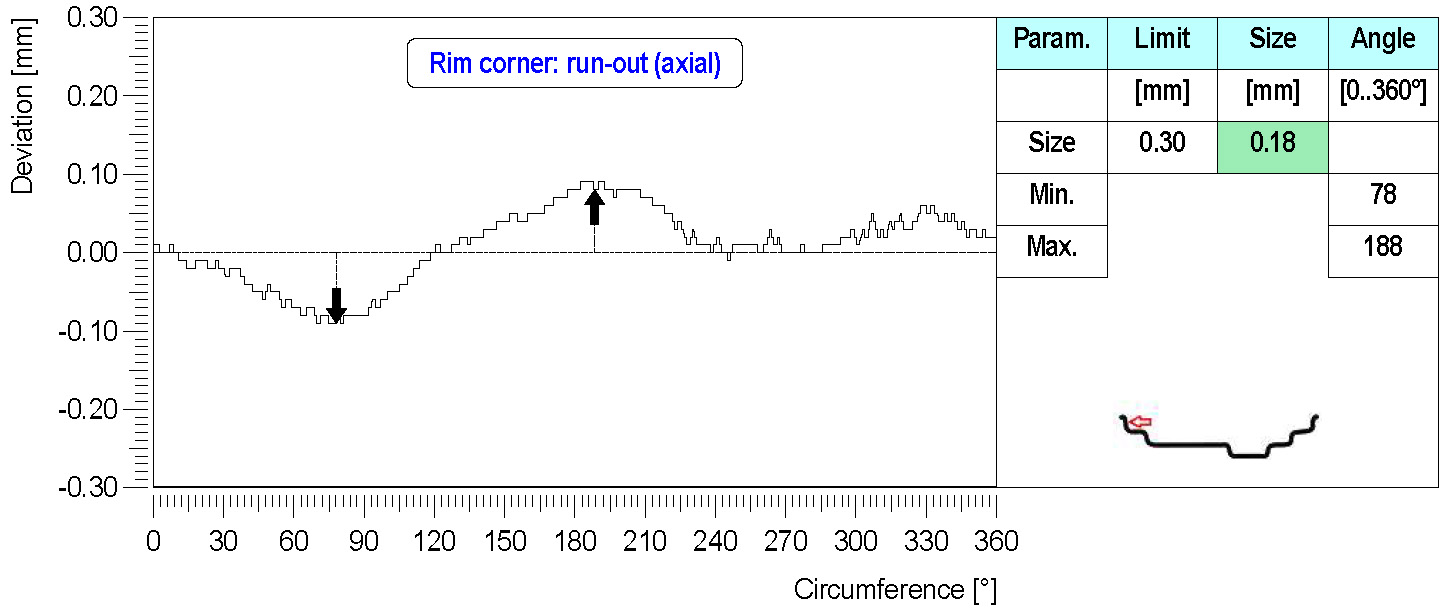
• Run-out measurement (radial, lateral)
- Measurement technology: Scanning laser triangulation
- Laser Class: 2M
- Sensor frequency: 5kHz
- Sensor resolution: 1μm
- Resolution in circumferential direction: 32768 (reduction possible - factor 2/4/8)
- Resolution thickness: 0,01mm
- Resolution width: 0,1mm
- Rim size: 13‘‘ -25‘‘(down to 5" with adapter)
- Rim width: ≤ 550mm (optional wider)
- Rim weight: ≤ 120kg
- PC: Industrial PC incl. Windows 10 Pro 64bit
- Power supply: 110-230V/ 50-60Hz/ 15A
- Base-frame construction: Steel
- Dimensions: 3350mm x 2400mm
- Weight: 700kg

